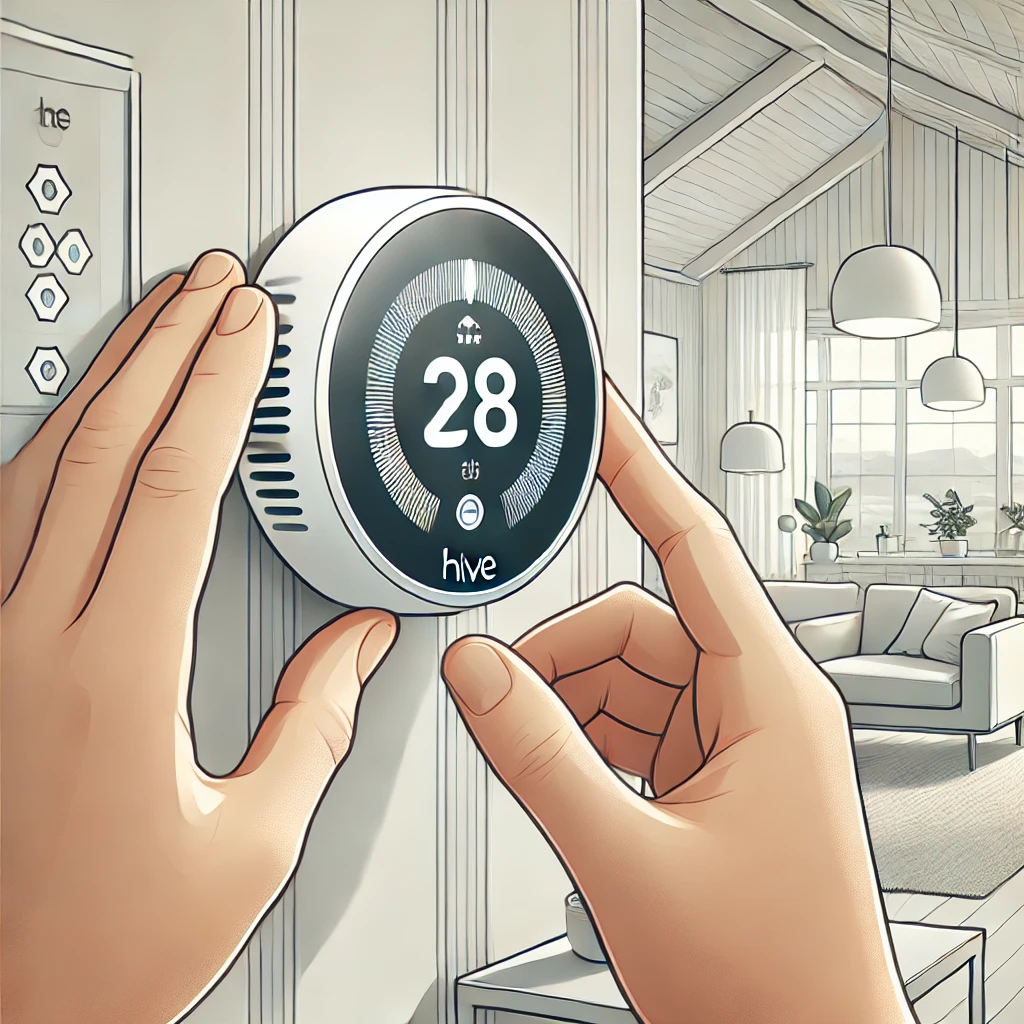
The Hive Thermostat is a smart heating system that allows you to control your home’s temperature remotely via an app. Installation requires connecting a Hive Hub, a Receiver, and the Thermostat.
⚠️ Important: If you are replacing a wired thermostat, you may need a qualified electrician or Hive-approved installer for safety and compliance.
1. Check What’s in the Box
Your Hive Thermostat kit should include:
- Hive Thermostat (wireless control unit)
- Hive Receiver (connects to your boiler)
- Hive Hub (connects to your router for app control)
- Batteries for the thermostat
- Mounting screws and wall fixings
2. Install the Hive Hub
- Plug the Hive Hub into your broadband router using the Ethernet cable provided.
- Connect the power supply and turn it on.
- Wait for the lights on the hub to turn solid white (this means it’s connected).
3. Turn Off Power to Your Boiler
⚠️ Safety First: Before working on wiring, turn off the power at the mains to avoid electrical shock.
4. Install the Hive Receiver (Wired Connection to Boiler)
- The receiver replaces your existing thermostat control or timer.
- Mount the receiver near your boiler (following Hive’s guidelines).
-
Wiring:
- If you have an existing wall thermostat, you may need to remove it and bridge the circuit to prevent interference.
- The receiver typically connects to the Live (L), Neutral (N), and Call for Heat (COM and NO) terminals on your boiler.
- Consult your boiler manual or Hive’s wiring guide for specific connections.
- Secure the receiver to the wall and turn the mains power back on.
-
Check the receiver lights:
- Green flashing light – ready to pair.
- Solid green light – successfully connected to the thermostat.
5. Install the Hive Thermostat
- The Hive Thermostat is battery-powered and can be placed on a stand or mounted on the wall.
- Insert the batteries (if not pre-installed).
- The thermostat will start up and search for the receiver.
6. Pair the Thermostat with the Receiver
- On the Hive Thermostat, press and hold the back button and menu button together for a few seconds.
- The thermostat should automatically pair with the receiver (you’ll see a confirmation message).
7. Set Up the Hive App
- Download the Hive App (iOS or Android).
- Follow the on-screen instructions to connect the system to your Wi-Fi.
- You can now control heating remotely, set schedules, and monitor usage.
8. Test the System
- Adjust the temperature on the Hive Thermostat and check if the boiler responds.
- Try turning heating on/off from the Hive app.
- If it’s not working, recheck wiring and pairing steps.
Troubleshooting
- Thermostat won’t connect → Ensure the receiver light is flashing green and try pairing again.
- Boiler not responding → Double-check wiring connections or reset the receiver.
- No power to receiver → Verify that the mains power is turned on.
Done! Your Hive Thermostat is now installed and ready to use. Let me know if you need more help!

